Interactive installation process
Assuming that you are already connected to the system you want to install, let's go briefly through the installation workflow.
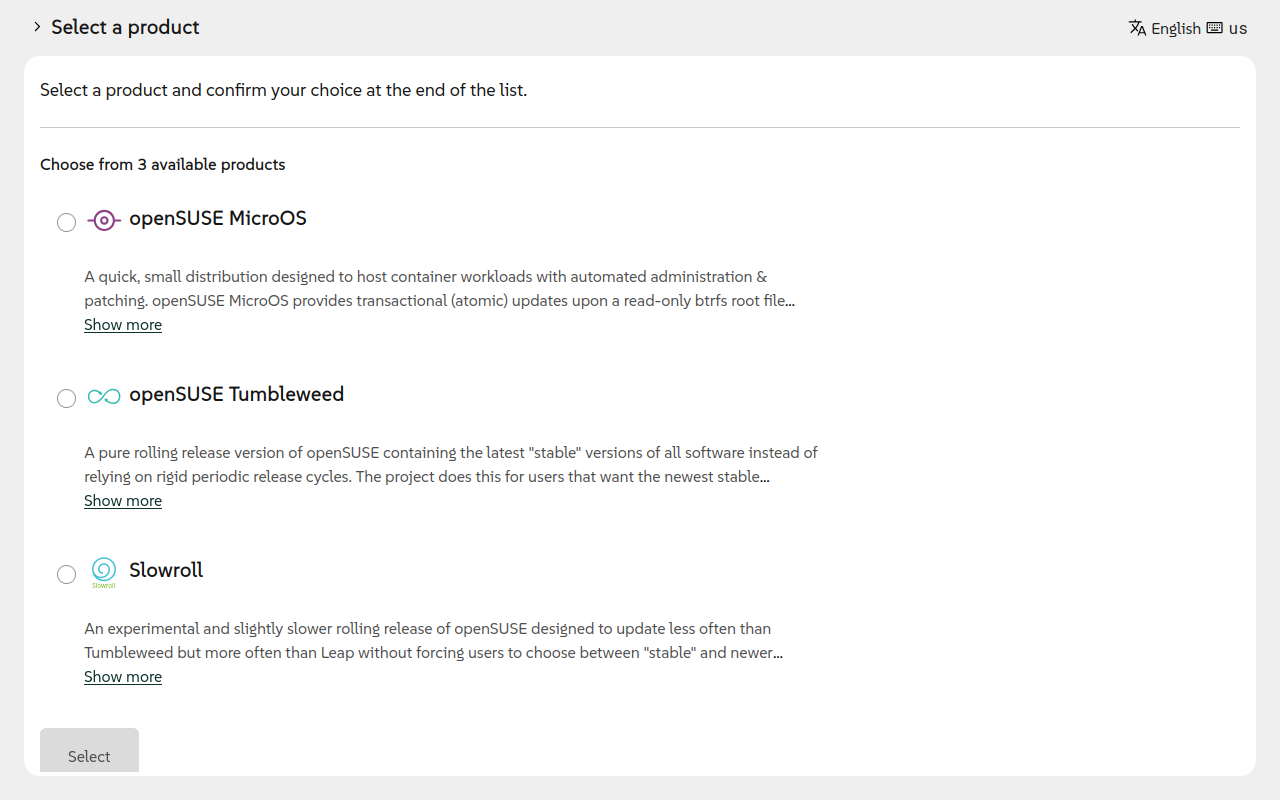
Product selection
Agama allows installing several SUSE and openSUSE-based distributions. The openSUSE-based image image includes Tumbleweed, Slowroll and openSUSE Micro OS. Additionally, Agama is the installer for openSUSE Leap too.
It is noteworthy to mention that the product selection does not only determine which software we will install, but it may affect other aspects like the system's partitioning.
Some products may, like SUSE Linux Enterprise Server, offer different installation modes (for instance, a "standard" or an "immutable" mode, the latter providing an immutable OS with transactional updates). If the selected product supports multiple modes, choosing one is mandatory to proceed with the installation.

You can change the product later if you change your mind, but you should carefully check the configuration as some values can be reset.
General layout
Once you select a product, Agama takes you to the overview page. In the main area, you can find a summary of the installation settings including localization, network, storage, software, authentication, etc. The installer let you know if there is an error or something is missing in any of those areas.
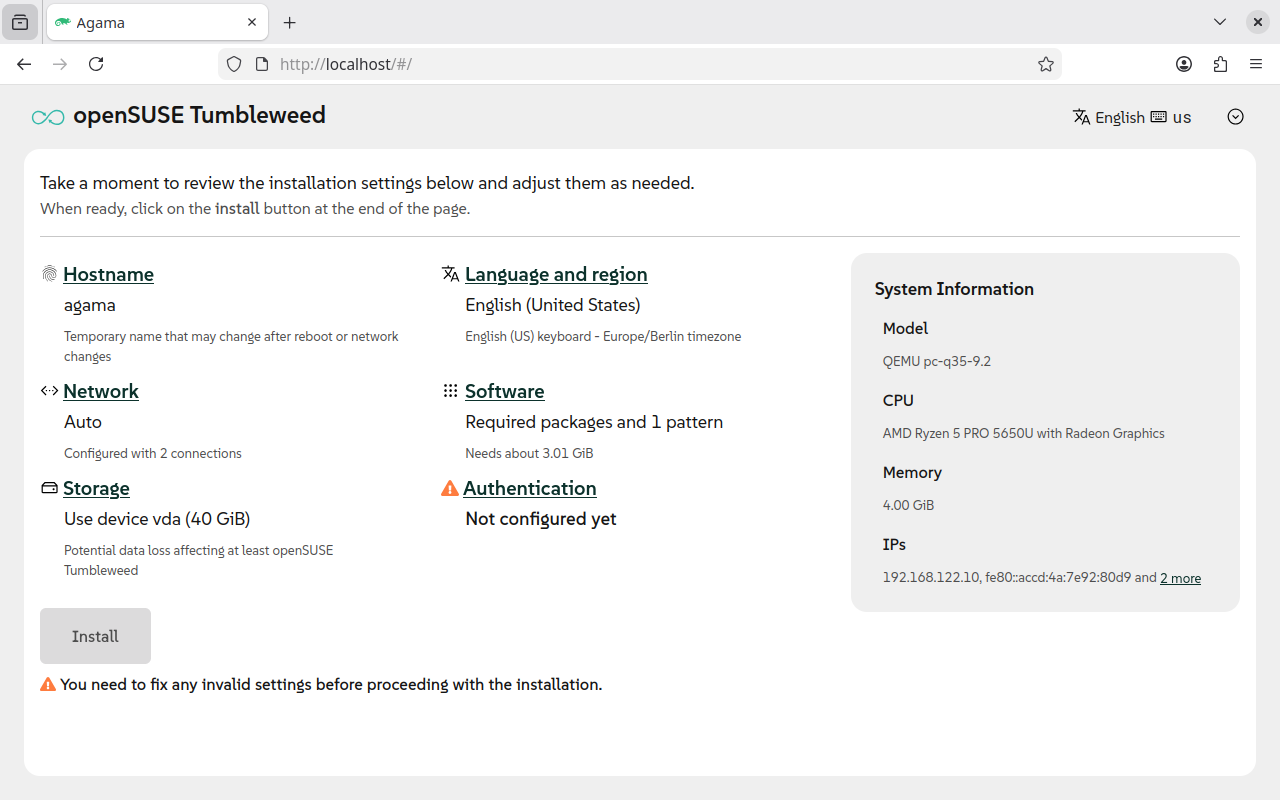
You can find the button to start the installation in the bottom of this overview page. Check the
Starting the installation section for further information. In the image above, the
Install button cannot actually start the process because Agama is asking to setup some
authentication method first.
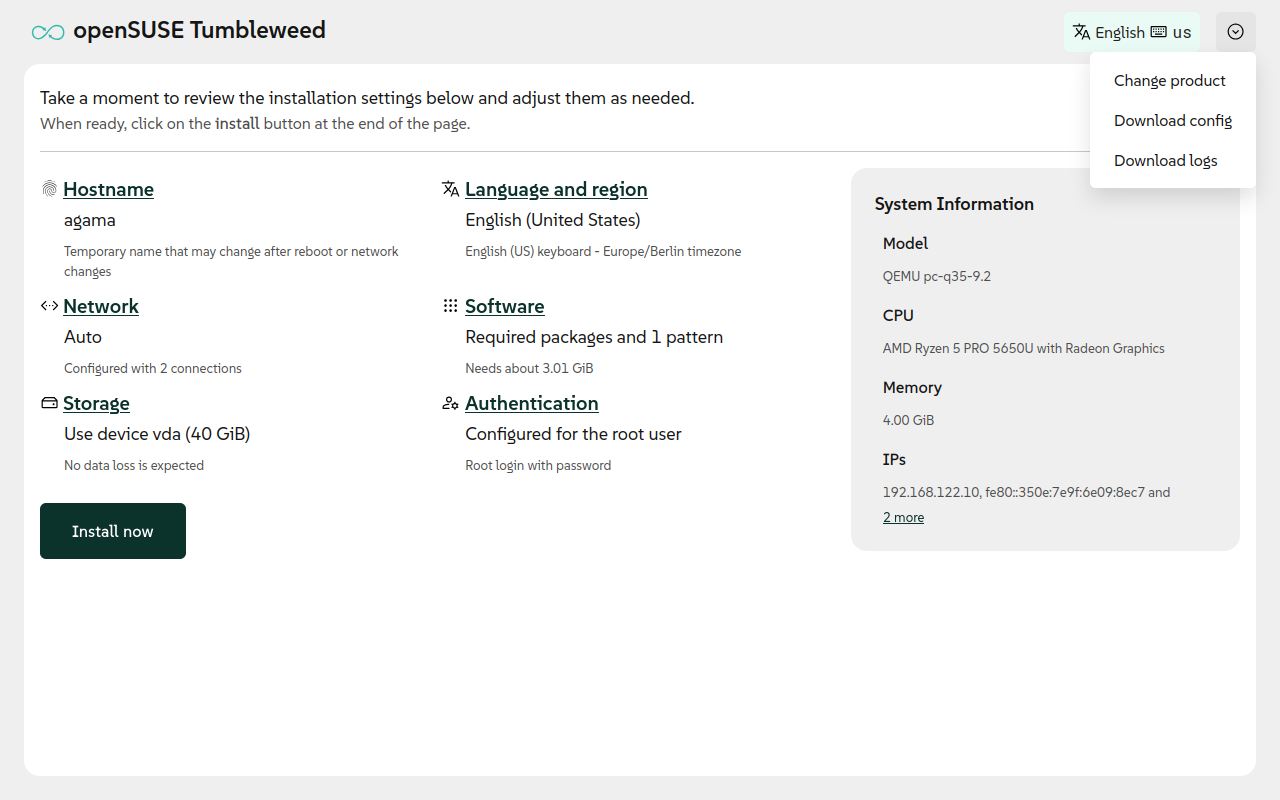
Finally, at the top right corner there is another button to change the localization settings for the installer and a menu offering some special options, like the possibility of changing the chosen product as discussed above, downloading the logs or the current configuration in JSON format.
Now we are ready to browse the different sections of the installer in no particular order, making use of the freedom of movements provided by the Agama interface.
Authentication
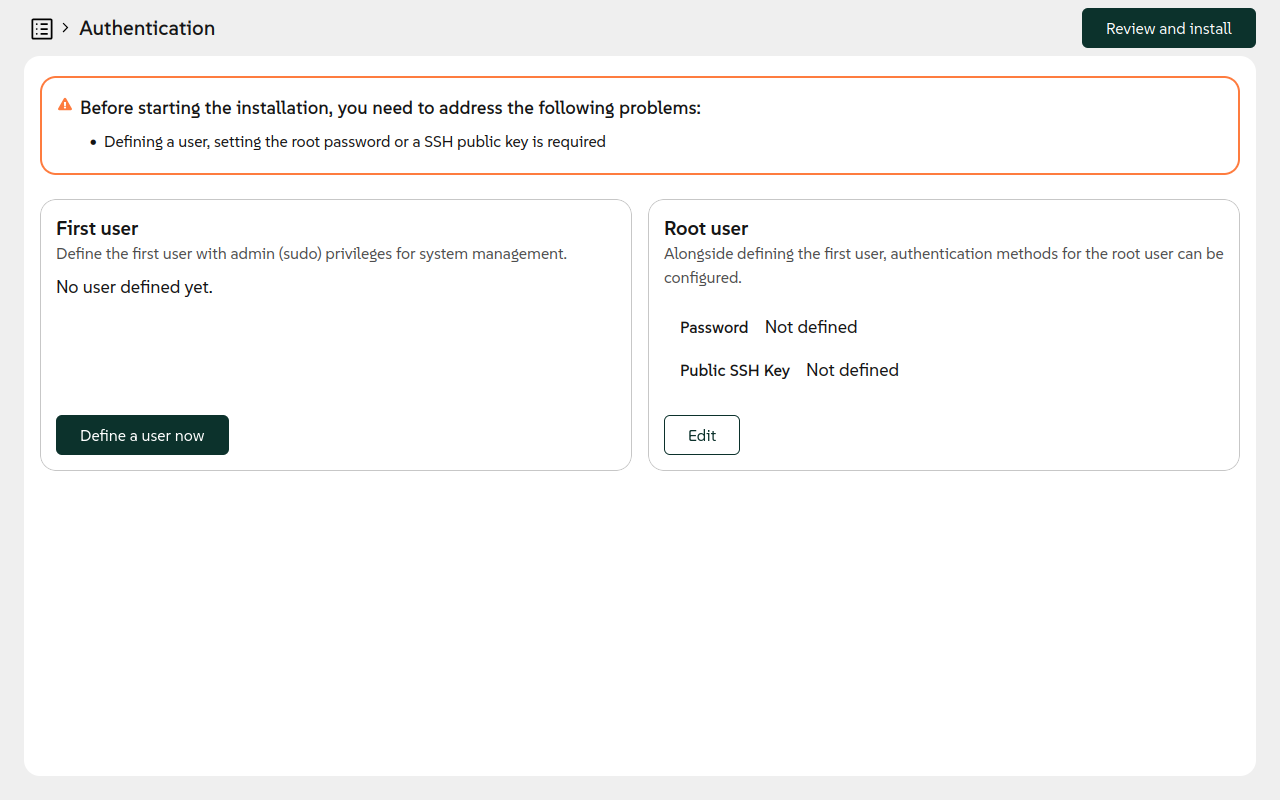
Most likely you need a mechanism to access the system once it is installed. And we already know Agama forces us to setup some authentication before proceeding with the installation. So let's start by inspecting that area.
There Agama offers you to set up a root authentication method (a password or a public key) and/or
to create a dedicated user. As mentioned, it is mandatory to do any before starting the
installation.
Once authentication is set, it would be possible to just start the installation unless Agama reports other issues. But even if no issues are reported, it is always a good idea to take a look to the different areas of the Agama interface before proceeding.
Network
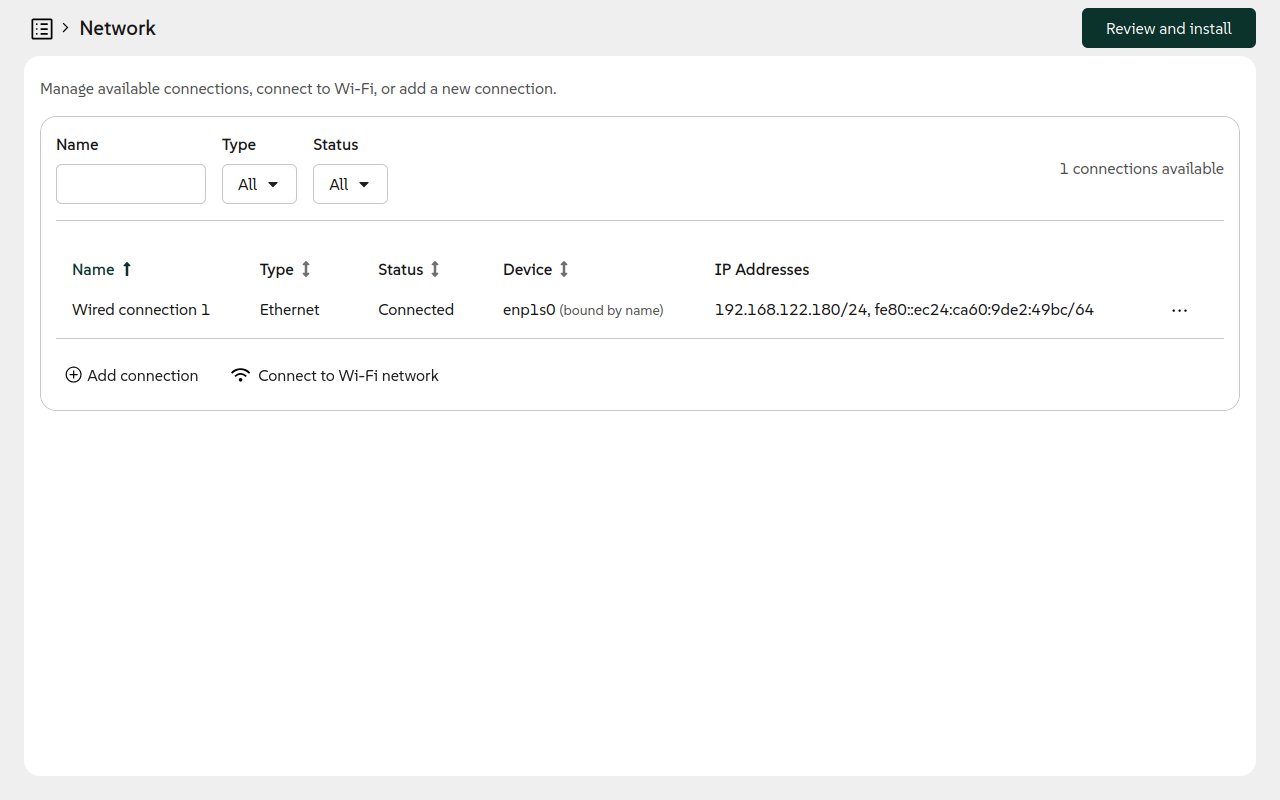
Agama makes it easy to adjust your network configuration. It allows setting up wired and wireless devices, specifying the mode (DHCP/manual), IP addresses, name servers, etc. Advanced connections types, like bridges or bonds, do not have support in the user interface yet. However, it is a matter of time that they get added given that Agama supports many of them during an unattended installation or using the command-line interface.
Network changes are applied instantly Beware that network configuration changes are applied instantly. So you must be careful when adjusting the network configuration on a remote installation.
Storage
Setting up the different file systems and their corresponding logical devices -like partitions, LVM volumes or RAIDs- is one of the most complex aspects of the installation.
The starting point at the Agama interface is pretty simple, you can choose the disk to install into and decide what to do in order to find space for the new system in that disk, like deleting or shrinking the current partitions.
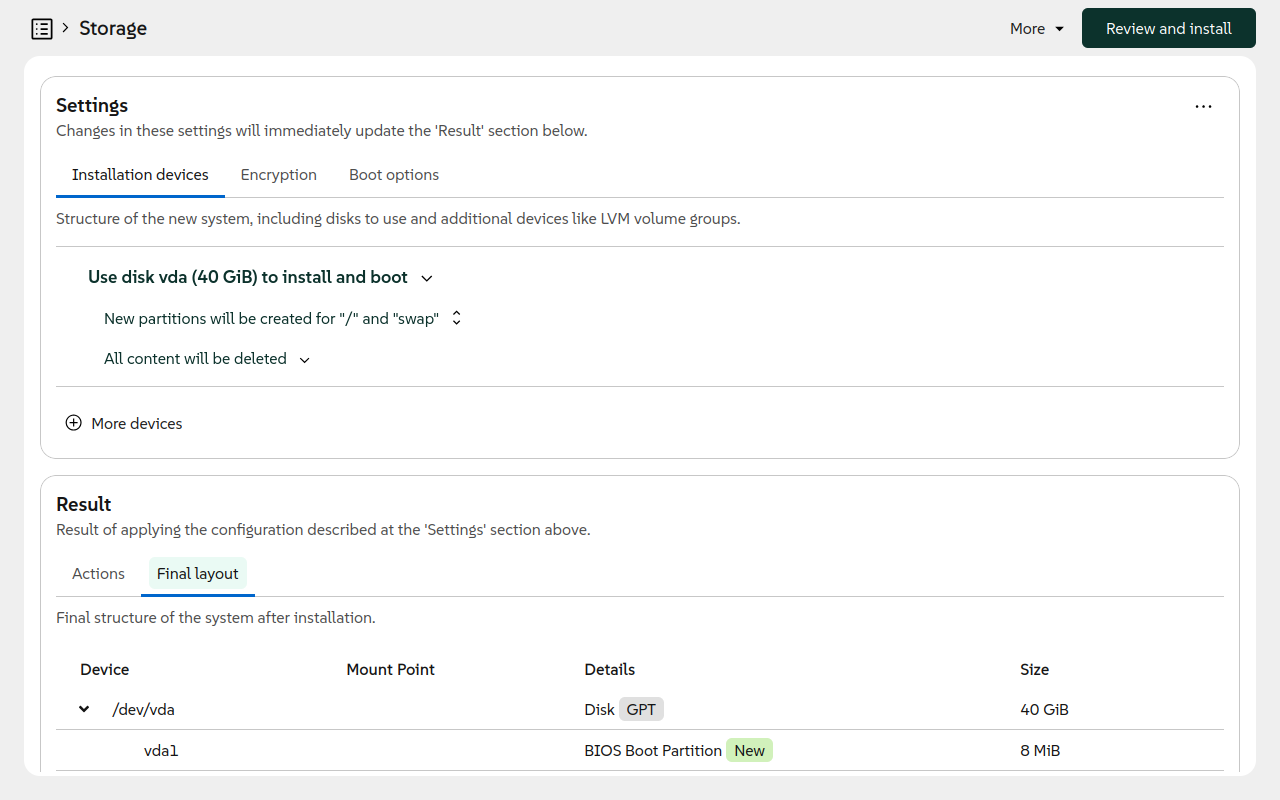
But Agama's storage user interface offers many more options that are described on its own separate document. Nevertheless, similar to the case of the Network area described above, the full Agama potential (like creating software MD RAIDs) is currently only accesible using the unattended installation or the command-line interface.
Registration
If a product must be registered (e.g., SUSE Linux Enterprise Server 16), then a Registration section is offered. In that section, the product can be registered through the SUSE Customer Center server or specifying a custom registration server (RMT or SCC proxy).
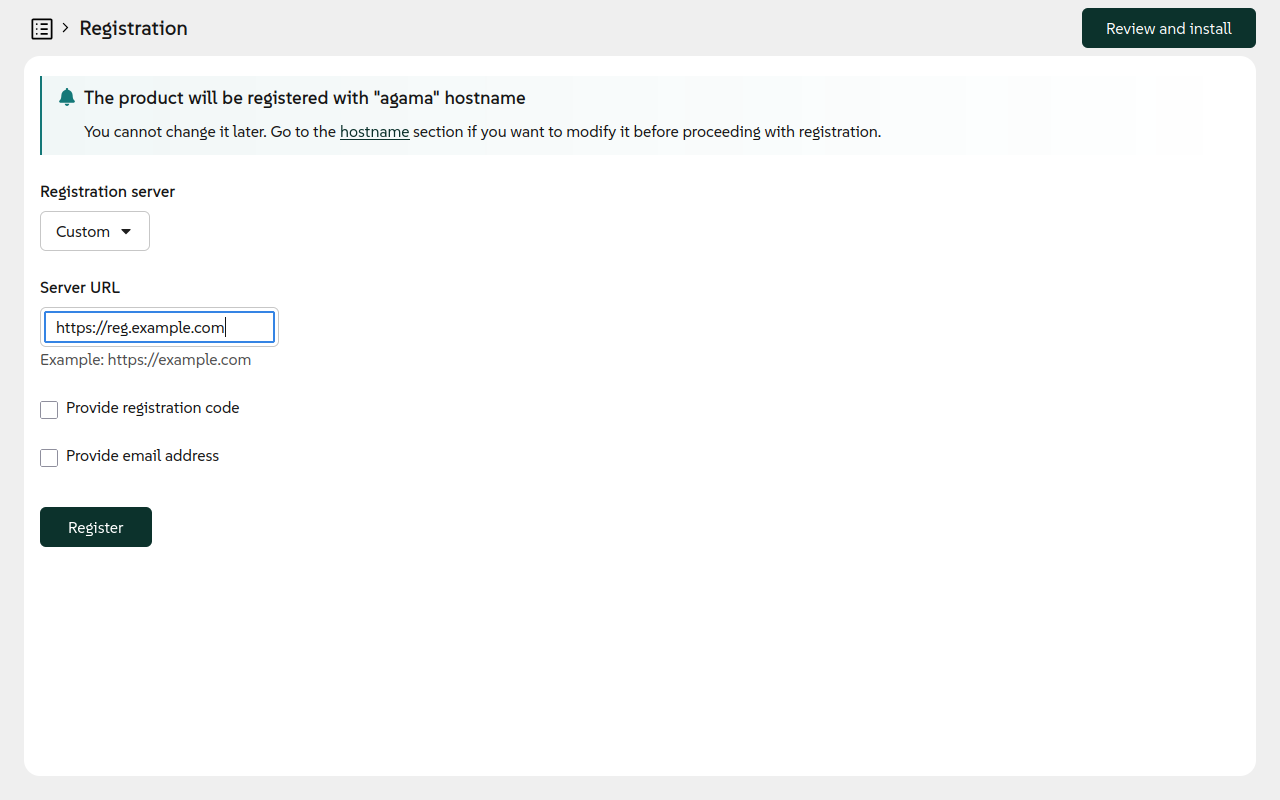
The product will be registered using the hostname configured in the Hostname section. Note that the hostname cannot be changed after registering the product.
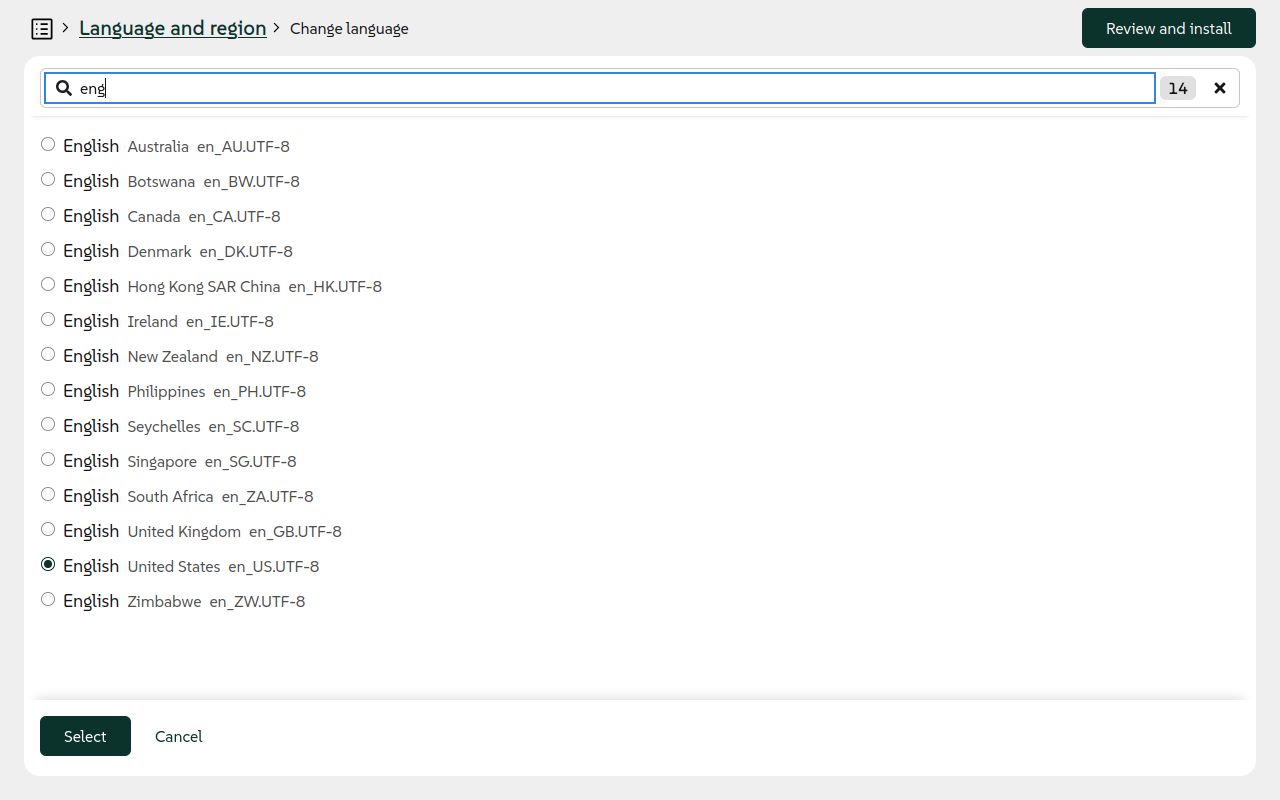
Localization
This section allows to select the language, keyboard layout and timezone that the system you are installing will use. Just click on the corresponding Change button to change any of them.

As there are dozens of possible values, Agama features an small search box to make it easier to find the value you want to select.
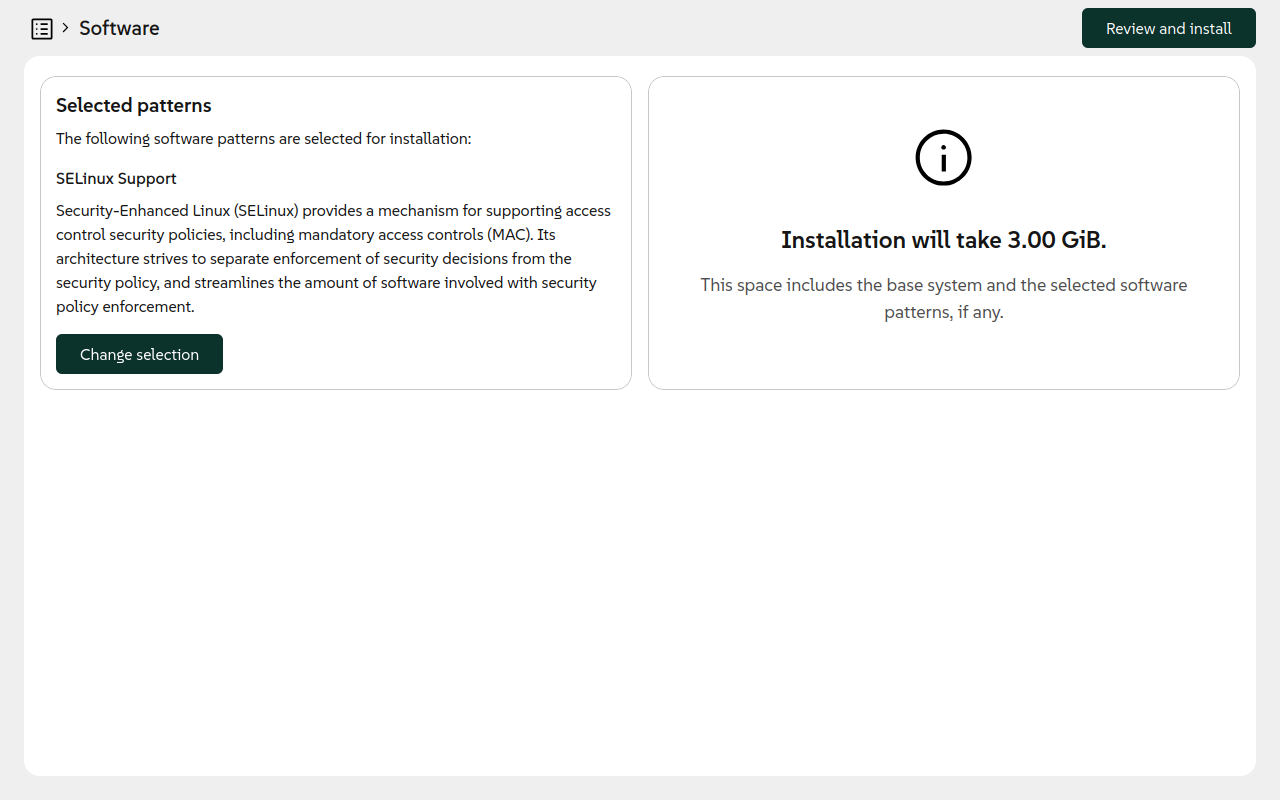
Software
Agama software selection is rather simple. Depending on the product, it offers a reduced set of software patterns. The image below partially shows how the software selector looks like. As in other places of the interfaces, Agama offers a search box. If you need any advanced package selection, we suggest to do it once the system is installed.
Starting the installation
As mentioned above, the Install button is always present, but with minor changes depending on the
situation:
- When it is not possible to start the installation, usually because there is some configuration problem you need to solve first, the button is disabled.
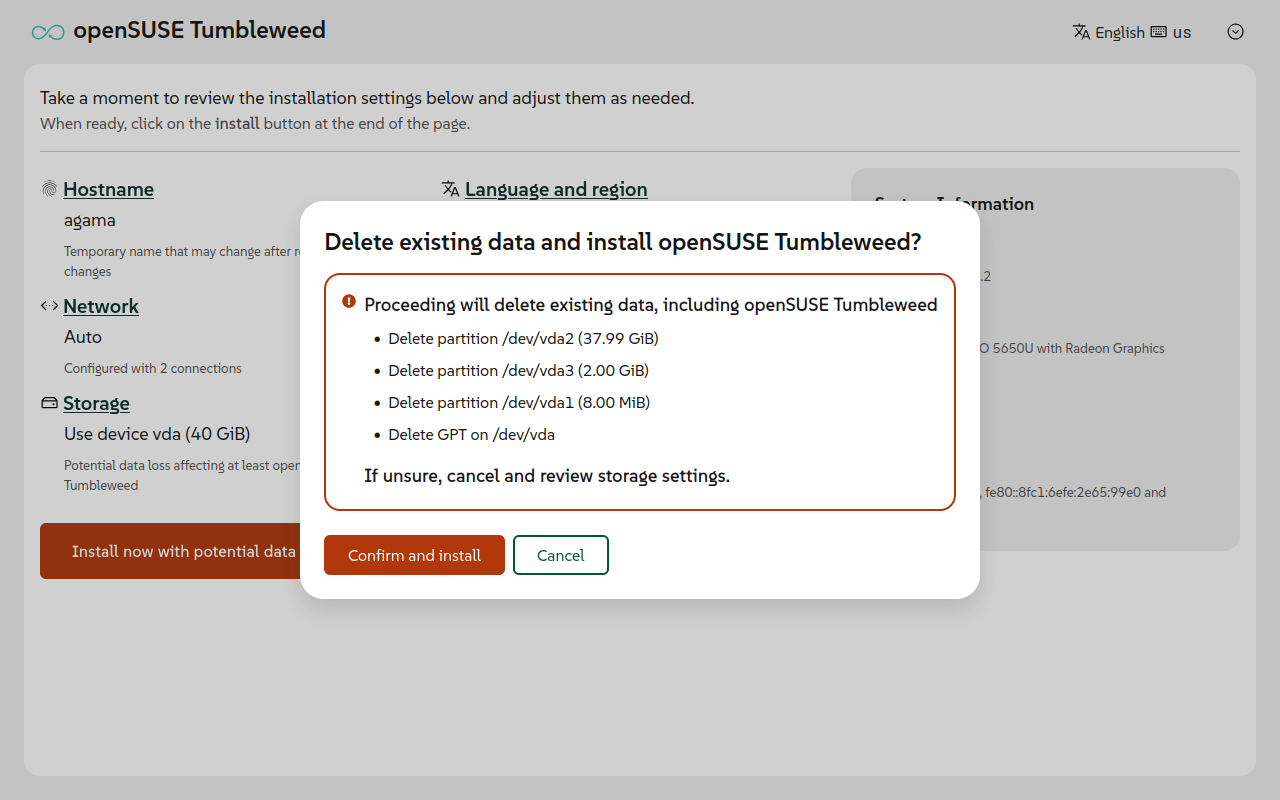
- When the installation might cause data loss, for instance removing existing file systems, the button text is adapted accordingly (Install now with potential data loss).
- In other case, the button label reads Install now.
Once you press the button, Agama will ask for confirmation.